Call anytime: 1-(800) 485-1725
Jewelry designing is an art, an art that is changing with time and technology.
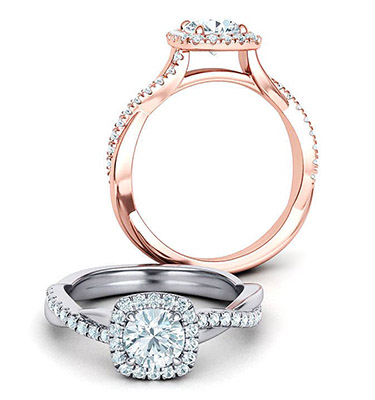
STEP 1: SKETCH 3D MODEL
The first step involves sketching a digital model of the design using CAD (Computer Aided Design). This software transforms an idea of the design to a model of the finished product. It can create any shape using any kind of material.
While it takes a day to complete a sketch model by hand, with the CAD program, the design is completed and rendered in just a matter of a few hours.
Here you can see the finished product of what you are anticipating. This helps decide the shape and design between the jeweler and the client, to make sure both parties agree before moving to full production.
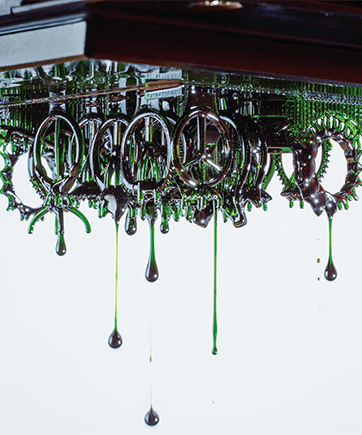
STEP 2: 3D WAX PRINTING
The digital model is taken to a 3D printer or a 3D grower as a file to print a wax model using resin. Make sure the file is compatible with the 3D printer you are using.
The 3D printer has a build platform where the parts will grow, hanging upside down. The build platform settles in the resin for the process to start.
The 3D printer has a build platform where the parts will grow, hanging upside down. The build platform settles in the resin for the process to start.
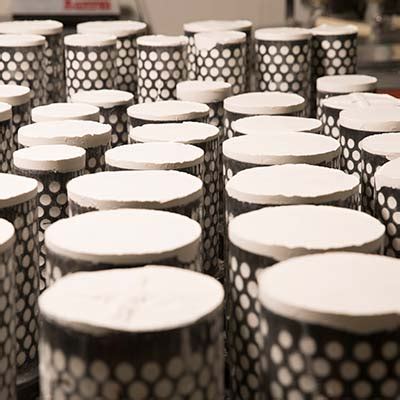
STEP 3: CASTING WAX TO METAL
The third step involves the lost wax casting technique. A mold is created by surrounding the object with ‘investment’ which is a plaster-like material containing silica.
The flask containing the jewelry part model and investment is baked in the oven for 5 to 12 hours to harden the material.
After removing the flask from the oven, the metal is prepared for the jewelry. Molten metal replaces the wax which can be silver, gold, or platinum. Finally, the metal dries and takes the shape of your design.
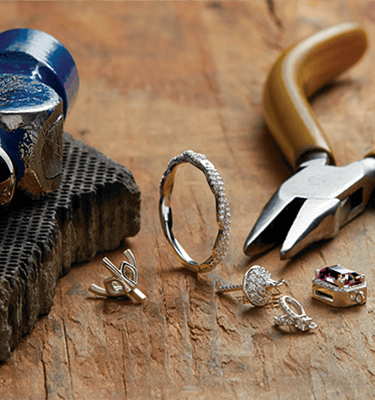
STEP 4: ASSEMBLE THE PARTS
After the casting is done, the metal part is cleaned of any investment residing on it. In this stage, the jeweler makes adjustments as required. In case of a ring, the piece is checked whether it can hold the gemstones or not.
This step involves necessary additions of jewelry pieces like clasps, hinges, posts, or closures. For gold jewelry, a special alloy of gold is used for welding the pieces into place.
This step involves necessary additions of jewelry pieces like clasps, hinges, posts, or closures. For gold jewelry, a special alloy of gold is used for welding the pieces into place.
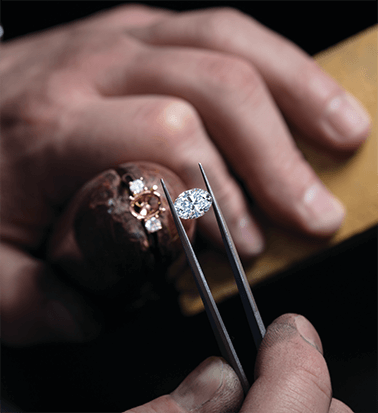
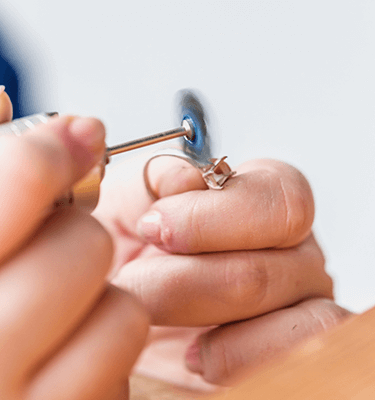
STEP 5: SET THE STONES
To set the stones, the jeweler will drill holes with an engraver if side stones are required. The diamond setter or gem setter places the stones according to the desired design.
Using a microscope, the stones are set in a burnish, bezel, pave or prong setting. This step requires a lot of skill so as not to damage the gems.
Each gem is held in an even plane with each other. Among the settings, the prong setting is considered to be an easy method where the prongs are bent to secure the stone.
STEP 6: POLISHING
The polisher takes the lead in this step to add sparkle to your jewel. The jeweler will finish with choices of style like high polish or satin polish. Additional designs like engravings are added in the final stage.
The polisher takes the responsibility to polish the jewelry to perfection, leaving no details behind.
Finally, the jewelry is thoroughly inspected and analyzed to ensure perfect production.
The polisher takes the responsibility to polish the jewelry to perfection, leaving no details behind.
Finally, the jewelry is thoroughly inspected and analyzed to ensure perfect production.